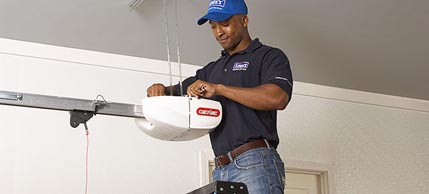
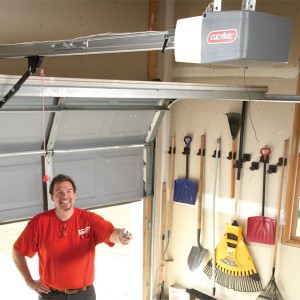
Most people believe that they have to get professional help to install a garage door opener, but this is not the case. The instructions in this article will help you to accomplish garage door opener installation easily with the right tools.
First and foremost, you should know that garage door openers are not cheap so it’s important to calculate the overall cost before making purchase. The brand, model and other factors will help you to determine the garage door opener installation cost.

Factors that will affect the cost of garage door opener installation
Brand:
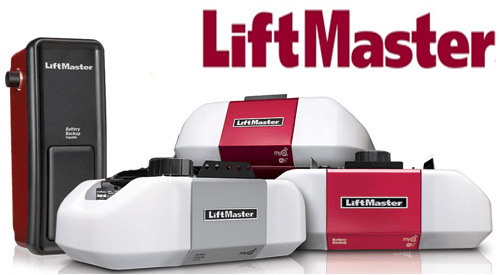
There are high-priced and cheap models, so this will determine the overall cost. For instance, a Liftmaster opener might cost more because this brand is one of the most popular in the US. The good news is that this brand offers many control products with added features for convenience and security. In addition, you can fix any problem that might arise later with the help of Liftmaster troubleshooting options.
Type:
Generally, the chain-driven openers are cheaper at roughly $100 and $150. The standard screw-driven openers cost $150 and the ones with additional features cost roughly $200. You can expect to pay $200 to $300 for one of the belt-driven models.
Service:
The overall garage door opener installation price will depend on if you are doing the work yourself or getting professional help. Of course, the professional service will cost more because the cost will include inspection and installation.
Note that the garage door opener installation requirements will vary significantly based on the different models.

You will need the following materials to install the door opener:
- Tape measure
- Mounting brackets
- Wrenches
- Socket
- Drill
- Drill bits
- Screw driver
- Hammer
- Hack saw
- Level
- Wire cutter
- Pliers
- Garage door opener set
Garage door opener installation instructions

Bear in mind that these are some general steps, but they will help you install your door opener properly.
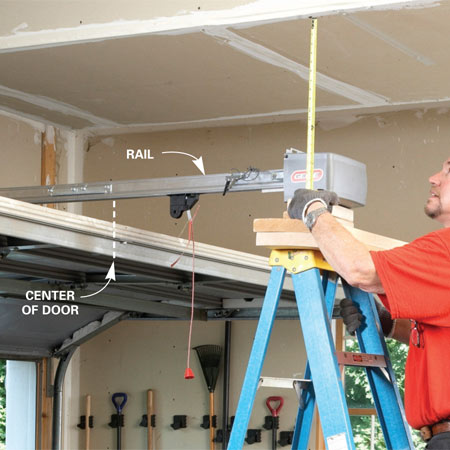
- Align the T-shaped rail properly and then use a bolt to secure them. Next, the idler pulley should be aligned and secured at the ending of the guide rail.
- Slide the trolley on the rails and then use a screwdriver to bolt it secure unto the door opener.
- Next, use the hardware that is included in the package to affix one of the belt chain ends. At this stage of the garage door opener installation, ensure that the chain is wrapped around the sprocket and idler pulley. Then, affix the chain unto the other end of the pulley.
- Add an extra two inches to the measurement for the header bracket. To get this right, you can open the door to find the highest point where it would travel once the tracks are installed.
- Close the door after attaching the head bracket and then affix this to the ending of the idler pulley.
- Use lag screws to connect the mounting bracket to the ceiling joists and then affix the opener unto the bracket.
- Install the controls and all the other components to finish the process.
Now that the garage door opener installation is completed, you can do a final test to ensure that the door is functional.
